Art Supplies + Links + Printing Tips
My favorites - detailed here for you!
I get asked for links A LOT since I’m using a lot of different supplies when crafting and printing all the CBC goodness! So I made a place for all those links and tips!
-
Remember…this is not a list of things you need…it’s just a list of things I’ve loved over the years and things I am often asked about.
PRINTERS:
I get asked about printer recommendations all the time, and honestly, it’s tricky recommending a printer because there are so many options out there that I haven’t personally tested. BUT, I did poll the CBC community and asked what their favorite printers are, and we got some great recommendations! Below are the printers that they seem to really love!
SUPPLIES I LOVE
(These aren’t all things you NEED. This is just a list of things that I get asked about all the time so I put them in an easy spot fo you!)
paper + cardstock
-
Basic Printer Paper (This is the most basic printer paper, suitable for all printers)
-
Hammermill Premium printer paper. (Has a smooth, nice finish for writing on, so it’s perfect for printing stationary pages and notebook/journal pages as well! My fav for regular printer paper!)
-
Neenah Card Stock 90lb (A basic, suitable card stock for most printers.). You can also try the 110lb which is a little thicker. Just be aware that all printers are different and if something is too thick, get the lighter weight next time.
-
Hammermill Premium card stock. (Nice card stock, smooth finish. Prints look really nice straight from home! Some thick, smooth card stocks can be tricky for older printers….just test and see!)
- My current go-to is “The Paper Studio” cardstock from Hobby Lobby. I get the “heavy weight, 80lb (216GSM) No link, you just have to go to Hobby Lobby!
-
Brown Kraft Paper Card Stock - There are some things in my subscription that looks great on brown kraft paper card stock! Like some hand-lettered tags i made in the summer, Nature Journal cover, etc. It’s fun to have on hand!)
-
Printable Fabric: This is fun to use with the pattern papers I make each month, and also great for printing banners that you want to be real fabric!
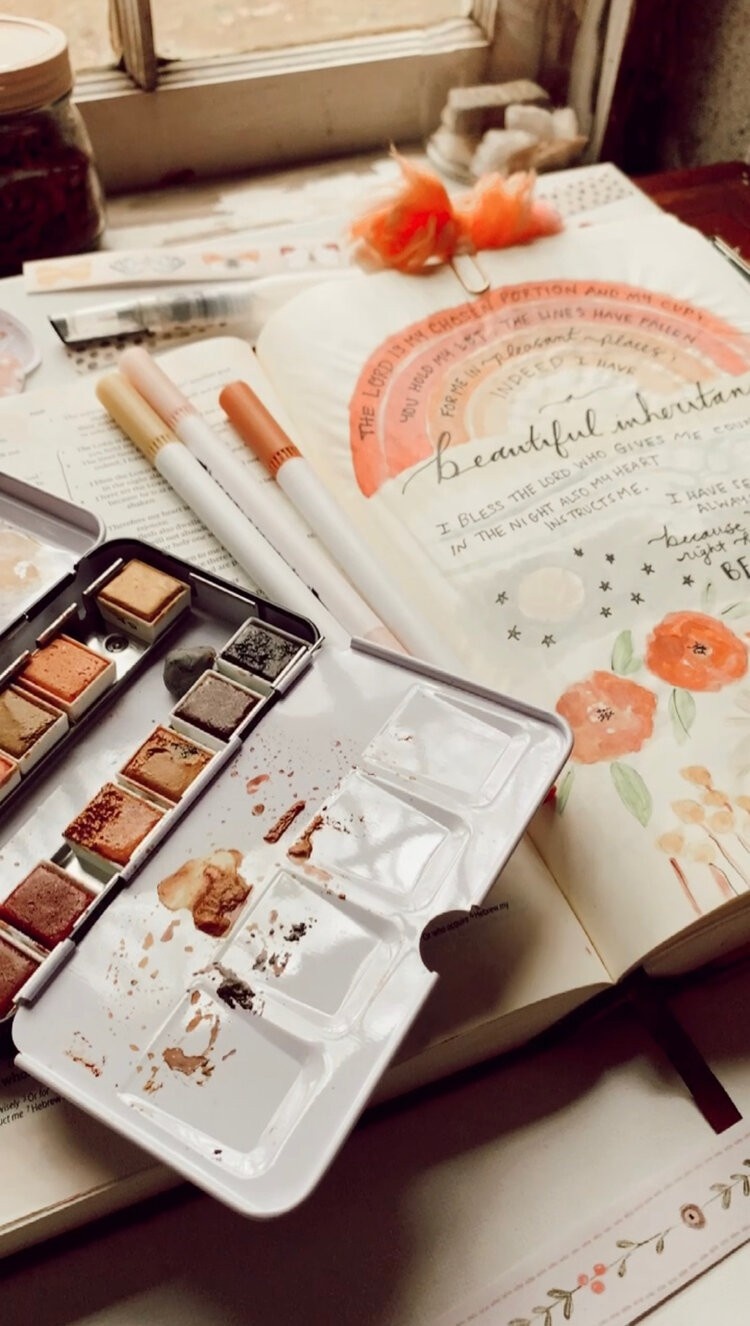
paints, pens, brushes
Bleed Proof White (opaque white watercolor)
Fav Water Color Sets: Prima Watercolor - Complexion set, Prima Watercolor - The Classics, Prima Watercolor - Pastel Dreams
White Paint Pens: These are great on many surfaces.
White Gel Pens: I use these in my Bible journaling.
Favorite Pens for journaling/writing: Uni Pin Drawing Pens (6 assorted tip sizes) OR Micron Pens
Markers for journaling/coloring: 100 Dual Tip brush markers
Primrosia 60 Dual Tip Watercolor Marker Pens: These are fun watercolor markers. You can color with the marker and then add water to it with a paint brush and it looks like watercolor….so great!
Distress Oxide Spray (Vintage Photo): I love using this in my Bible Journaling and for other art forms.
Gold Flakes: I use in art and Bible journaling with Mod Podge
glue + tape
Matte Mod Podge: Great for gluing papers, journaling, etc. Also works as a great sealer.
My FAV glue gun ever: This is a Surebonder glue gun and it’s the glue gun of my dreams!
Writeable Kraft Paper Tape (brown)
tools
-
Fiskars SureCut Deluxe Craft Paper Trimmer - This is hands down my favorite and most-used cutting tool! Easily trim prints and cut out all the straight lines for things like cards, tags, banners, etc.
-
Exacto Knife (This is is soooo good! Perfect for cutting inside of letters, or tiny things that would be easier than scissors)
-
Tim Holtz Scissors: My fav most comfortable scissors to use by far! 7” Snips and 9.5” Shears. You can also find them at Hobby Lobby!
-
Corner Punch Rounder - If you want to round your edges on cards or anything else, this is a fun little tool! It has several different rounding size options!
-
Wooden Dowel Rods - Adding these here because people often ask about dowels for the flags and wands and such that show up in some collections! I buy packs of 12” dowels at Hobby Lobby, but here’s some from Amazon too!
-
Bronze Book Rings 1”: Use with scripture cards or making little journals. Obsessed with these!
-
Gold 3 Ring Mini Book Binders: Can be used to bind mini books, scripture cards, etc.
-
Six Hole Punch: For punching holes for mini book binding or making journals
-
Six Inch White Sticks: I use these for making mini flags and such!
-
Vintage Rubber Alphabet Stamps: Fun for journaling and Bible journaling
-
(A little splurge) Vintage Cast Iron Twine + Scissors Set: I just love having this handy on my art desk, and any time I show it people ask about it, so here it is!
clips + things
Skeleton Clips: For journaling and also for hanging prints
Big Gold Paper Clips: great for journals and adding ribbons or bows.
Pen Clips for Journal: Attach to your journal or Bible and hook your pen on at the same time.
Little Hinged Tins: This is what i use for the Art Bits Stack, The Joy Stack, The Camp Bits….and any more that come along!
journals + bibles
Mindoro A5 Journal: a great blank journal for art journaling or notes
ESV Interleaved Journaling Bible - leather w/ wrap around cover
cozy home vibes
Faux Taper Candles: These are the best faux candles I’ve ever had! I use them year round for all the cozy feelings in my home!
Grow Fragrance: I don’t use fragrance and candles like I used to because we try to limit toxins in our home. But I have often missed a good, fragrant candle! I tried Grow candles and room sprays for the first time recently and I’m now totally obsessed. This is not sponsored….I’m just seriously sooo happy AND want my friends to limit toxins if you can with a great alternative like this! You can get $5 off when you use this link!
My Tea Set: This is one of my most asked for links! It’s a beautiful tea set that keeps warm with a tea light….we use it almost every day!
PRINTING + DISPLAY IDEAS:
-
Add to a frame (I love to buy an oversized frame and mat for smaller prints!)
-
Print small to give as a greeting card that the recipient can also keep and frame or display.
-
Here’s my fav app for resizing prints if you want to fit several to a page to print smaller: Print to Size (I have a highlight demonstration this on Instagram!)
-
Hang prints by a clothes pin on line/string.
-
Hang prints on a plain clip board and prop against a wall, on a shelf, or even hang.
-
I’m a huge fan of gluing a piece of extra-heavy card stock to the back of prints that you don’t intend to put in a frame. When you do this, it makes the print so study you could prop it up easily anywhere! You can also glue some pretty trim around the print as well! It’s kind of like a frame without a frame! I also love to add extra card stock to the back of ornaments and anything I want to be more durable!
-
Poster Hangers: I highly recommend these from Amazon! Here are the best sizes for displaying whichever size prints you want:
PRINTING TIPS
I recommend printing art prints and cards on cardstock or premium art paper. (Links above) If your printer can’t handle cardstock, you could always print on a good premium paper and back it with cardstock after printing if you need it sturdier for a project.
Printing on cardstock is tricky for some printers, but mine has never had an issue with most cardstock. They heavier cardstock you get, the tougher it is on the printer and you could have some “feeding” issues, but this is really trial and error for your particular printer and you will find what works best!
Printing Sticker Pages:
-
For printing sticker sheets, I just recommend buying full sheet sticker pages. Here is what I have ordered from Amazon: FULL SHEET STICKER PAGES (white) CLEAR/TRANSPARENT STICKER PAGES. You can also use printable vinyl: PRINTABLE VINYL. This another I’ve seen some people use as well. PRINTABLE VINYL. If going the vinyl route, currently my favorite is the Printable Vinyl at Hobby Lobby by Paper Studio. They just work so smoothly in my option! But for most stickers that are intended for planners and journals, the regular sticker paper is fine!
-
You can cut the stickers out yourself as most people do, OR if you have a Cricut or Silhouette and know how to use it, go for it! Lots of CBC members us those!
-
Use stickers for journaling, bible journaling, planners, cards/gifts, arts & crafts, projects for kids, etc.
Printing Tags and Banners:
-
For extra things like Tags and Banners, again, card stock (links above) is your best friend!
Printing Scripture Cards:
-
Always print your scripture cards (and any cards) on cardstock. Then I cut with my Fiskars SureCut Deluxe Craft Paper Trimmer . Sometimes I like to use a Corner Punch Rounder to round out the corners, but I don’t always do that. Whatever you like best!
Printing Labels:
-
There are a few different ways I recommend for printing your roller labels.
-
#1: The PDF sheet with pre-made layout with 2” labels.
To use these PDF sheets that I’ve made, you’ll be printing at home, and I recommend using printable vinyl. Printable vinyl (which you can find on Amazon or Michael’s) - while all labels are not necessarily water/oil proof, it is better than plain mat sticker paper.
-
Currently my favorite labels to use is the Printable Vinyl at Hobby Lobby by Paper Studio. They just work so smoothly in my option!
-
Here is a link to some printable vinyl from Amazon. There are many options. PRINTABLE VINYL. This another I’ve seen some people use as well. PRINTABLE VINYL ——— You can print these on any inkjet printer and it works GREAT!!! I suggest letting them sit for as long as you can before handling too much to give the ink more time to drink and set it! I’ve found this to be really helpful!
-
I use Avery template 22806 online to set up my sheet for printing. You can also order the blank labels with template 22806 from Avery.
-
For extra protection of your labels at home, you can always cover the label with clear shipping tape or contact paper after applying the label. That will protect it from water and oil and still looks really nice!
-
#2: Order labels printed from Avery.
To have labels printed from Avery: Go to www.Avery.com > Custom Printing > Square Labels. Then choose "Sheet Labels" > Square > 2" > White Film (the White Film is weatherproof!) (You can also search for template 22806) The minimum is 24 labels for $12. So you'll be getting 2 sheets...so basically 2 of each label. "Start Designing". Click “edit one” on the right so you will be editing each individual label (if that’s what you want to do). Upload or drag photos into the square. You’ll be uploading the individual image files for each label...it walks you through it pretty easily from there! (you will grab the corners to size the label inside the box. I personally like to scale it to the inner box cause I’ve found them to fit all rollers better that way with no extra trimming needed!)
-
Standard 10ml roller label size is 2x2". If you want to order/print labels for small bottles like a 5ml, you’ll want to order/print your labels at 1”. Avery has a large variety of printing options and sizes! Decide what works best for you!
-
#3: If you want to set up your own template on Avery to print at home:
-
Maybe you want to build your own page with different layouts of images for your labels. You can easily do that at avery.com too!
-
Go to www.avery.com > Templates > Find a Template > Square. Then choose the label sheet of your choice (2” if you are printing for 10ml rollers, 5” for 5ml). Then choose “Start Designing”. Select the blank image design. This will open the screen to start editing. To print multiple different images on one sheet, choose “edit one” to make sure you are individually editing each square for the image you want. Stay within the square border to make sure you don’t cut off part of the image. When you are finished, choose “preview and print”, and then “print yourself”, “get pdf to print”. It will ask if you want to save with Avery or not, and I don’t usually do that but you totally can. Just continue until you save the PDF to your computer so you’ll always have it, and print as you please!
